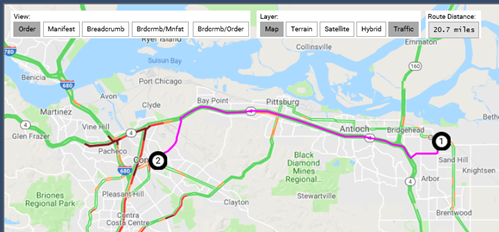
One of the features of Order Entry CSHTML is the ability to view a map of the stops on the order or manifest, along with breadcrumbs of the driver's route and the distance traveled.
In CMS > Orders & Dispatch > Order Entry CSHTML, find the desired order, then press ctrl+y on the keyboard. A map will appear either underneath or to the side of the order, depending on how large the monitor's screen is.
Note: To move the map to the right side of the order, zoom out until the map is small enough to fit.
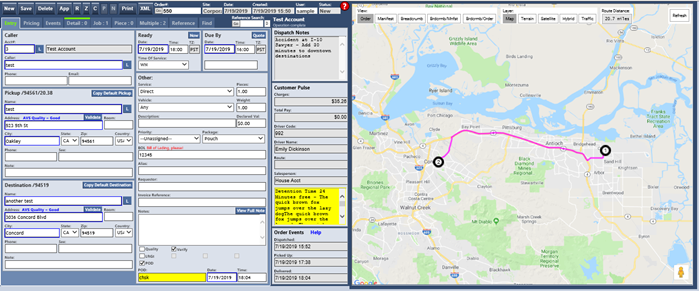
The map can be used in a similar manner as Google Maps. To move the map around in the view, click, hold, and drag the mouse within the map. To zoom in or out, place the mouse within the map and scroll up or down if the mouse has a scroll wheel. Any labeled landmarks can be clicked for more information.
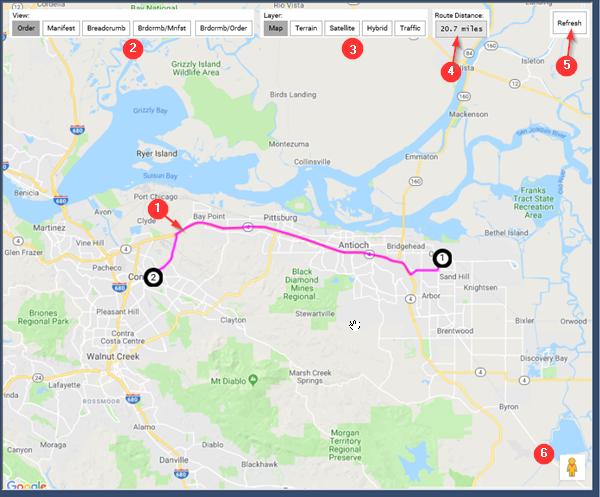
Suggested Route - Google Maps will suggest a route in magenta based on the distance between the stops and current traffic conditions. Note that the suggested route may change slightly depending on the traffic conditions at the time the map is accessed and refreshed.
Views - Different levels of detail and breadcrumbing. See below section on Views.
Layers - Different types of maps that can be viewed. See below section on Layers.
Route Distance - The total distance covered in the suggested route. When on a breadcrumbing view, will also display the total breadcrumb distance.
Refresh - Refresh the data in the map. Unlike in DMS Dispatch, the Order Entry map will only refresh when pressing this button or when refreshing the entire Order Entry page.
Street View - Drag and drop the person icon anywhere on the map to see a Google Street View of that location.
Views
There are five options to view the breadcrumbing map. In each case, clicking on the stop number will display details about the stop. If multiple icons are bunched together, click on the grouping to separate them out for easier viewing.
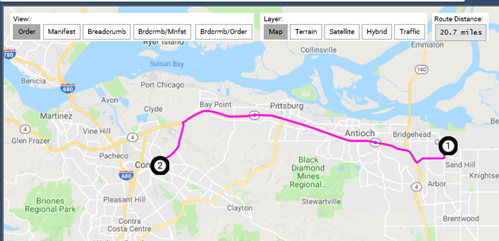
Order - places large numbers on the stops in the order and a magenta line for the suggested route.
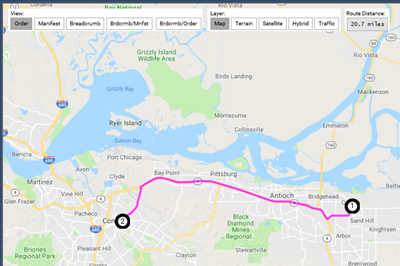
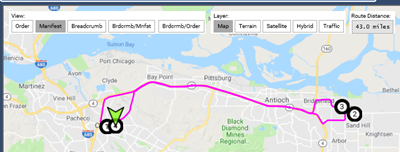
Manifest - places large numbers on each stop in the entire manifest that the order is in, a magenta line for the suggested route, and a green arrow for the most recent GPS position of the driver. Note that the route distance will also change to reflect the total distance of the manifest.
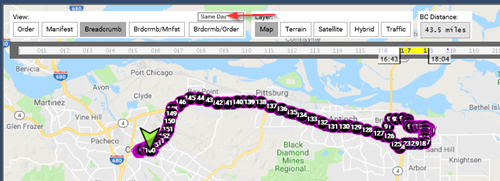
Breadcrumb - displays numbered GPS breadcrumbs for the driver's route on the entire manifest and a green arrow for their most recent GPS position. The distance will change to be the breadcrumb distance. The slider at the top displays a filter by time; drag and drop the lines to adjust the filter. If a manifest is active past midnight and going into the next day, there is a drop-down filter above the slider to choose between same day and next day (red arrow in below screenshot).
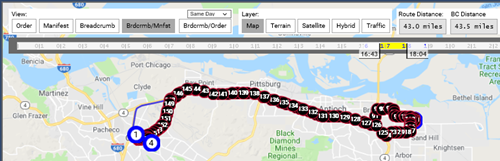
Brdcrmb/Mnfst - same as Breadcrumb option, but also shows a blue line for the suggested route and numbered circles for each stop on the whole manifest. Both the route distance and the breadcrumb distance are displayed at the upper right. If several icons are bunching together, click to separate for easier viewing.
Brdcrmb/Order - same as Brdcrmb/Mnfst option, except only the stops on the order itself are shown.
Layers
There are five different options for map types, called layers, that can be used.
Map - standard Google map
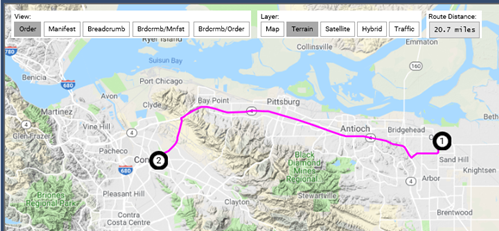
Terrain - relative elevation
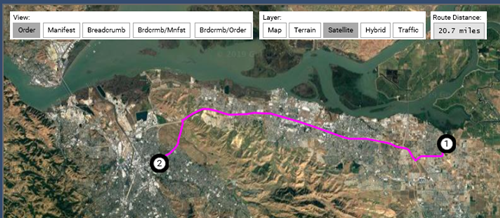
Satellite - uses satellite pictures of the location. City names and drawings of roads are removed.
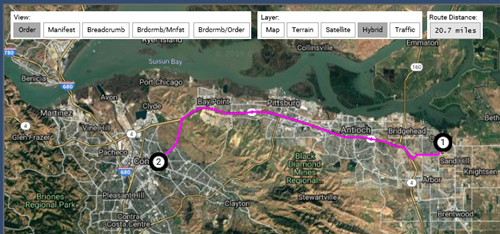
Hybrid - uses satellite pictures overlaid with city names and drawings of roads.
Traffic - used in combination with any of the other four views, will display color-coded traffic patterns as of the most recent refresh (either using the refresh button or by refreshing the entire Order Entry page).